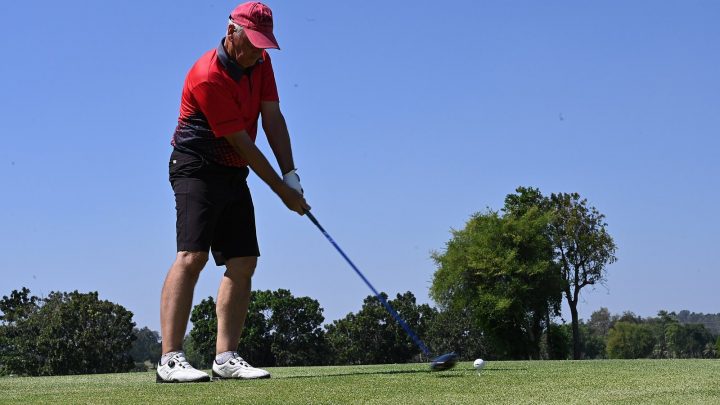
The Golf Swing in Stages: From Takeaway to Finish
The full swing broken into stages from setup to finish, with widely taught checkpoints and the faults behind slices, hooks and fat shots.

A full golf swing lasts only a second or two, yet coaches have spent more than a century breaking it down and arguing about the details. That is partly because the swing is a chain: what happens at the start shapes everything that follows. If you understand the stages and what each one is trying to achieve, practice becomes more focused and lessons make more sense.
This article describes the stages of a full swing using checkpoints that are widely taught, for a right-handed golfer (left-handers can simply reverse the directions). It is general guidance, not a substitute for a qualified coach who can watch your swing and tailor advice to your body and goals. If you are just starting, read our guide to grip, stance and posture first, because those fundamentals determine much of what follows.
The Goal of the Swing
Before looking at positions, it helps to know what the swing is for. At impact, three things determine where the ball goes:
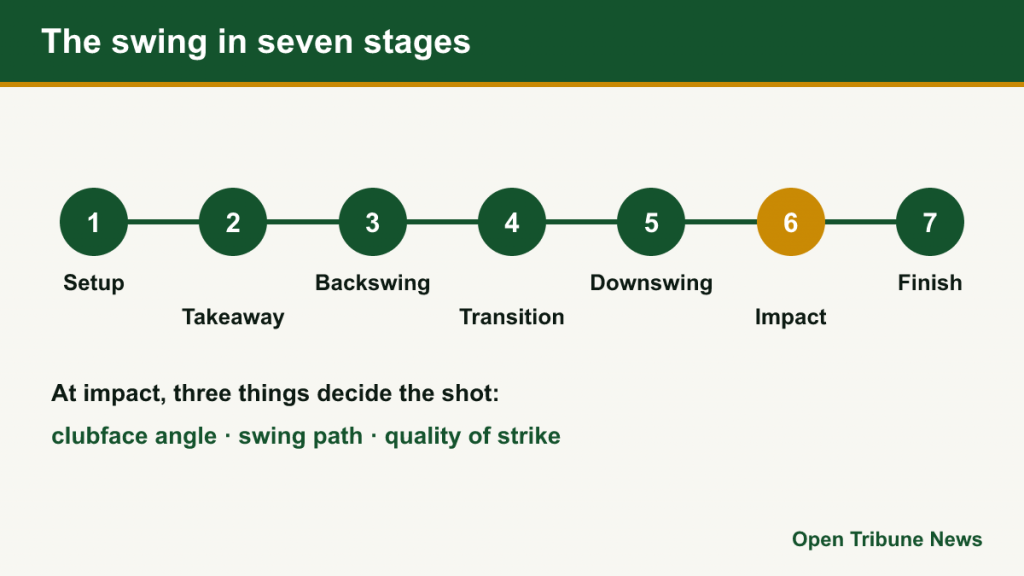
- Clubface angle: where the face is pointing at impact has the biggest influence on the ball’s starting direction.
- Swing path: the direction the clubhead is traveling. The relationship between face and path determines curve.
- Quality of strike: hitting the ball first and then the turf with irons, and finding the center of the face with every club.
A useful way to picture the motion is as a double pendulum: the arms and shoulders form one lever, and the hands, wrists and club form the second. The aim is to transfer energy efficiently from the body into the clubhead and through to the ball. Good timing, the sequence in which body parts move, is regarded as one of the most critical elements of the swing.
Stage 1: Setup (Address)
Everything begins before the club moves. At address:
- Stance: feet roughly shoulder-width apart for a mid-iron, a little wider for long clubs and narrower for short ones.
- Posture: bend forward from the hips with a straight back, knees slightly flexed, and the weight toward the balls of the feet. The arms hang naturally below the shoulders.
- Alignment: feet, hips and shoulders parallel to the target line, the line from the ball to the target. A common image is a railway track: the ball and clubhead on the outer rail, your body on the inner rail.
- Ball position: moves forward in the stance as clubs get longer, from around the middle for short irons to just inside the lead heel for the driver.
Many swing faults are really setup faults. If your shoulders aim left of the target, for example, you will tend to swing across the ball from outside to in.
Stage 2: Takeaway
The takeaway is the first part of the backswing, the movement of the club away from the ball to roughly hip height.
Widely taught checkpoints:
- The club, hands, arms and shoulders start back together, often described as a “one-piece” takeaway.
- When the shaft is parallel to the ground, it points roughly along the target line, and the toe of the club points roughly to the sky.
- The clubhead stays outside the hands, rather than being whipped quickly inside behind the body.
Common faults: snatching the club away with the hands, rolling the forearms so the face opens dramatically, or dragging the club too far inside. Each tends to force a compensation later in the swing.
Stage 3: Backswing to the Top
From hip height, the wrists begin to hinge (often called the wrist cock) while the upper body continues to turn. The order of movement in the backswing is generally hands and arms, then shoulders, then hips.
Checkpoints at the top:
- The shoulders have turned significantly more than the hips, creating coil between the upper and lower body.
- The lead arm is fairly straight (not rigid) and the trail elbow is folded and pointing roughly toward the ground.
- Weight has moved into the trail side without the body swaying away from the target.
- The club is supported by the hands with a relatively square clubface relative to the swing plane.
The length of the backswing varies. A full swing does not require the shaft to reach horizontal; flexibility differs greatly between golfers, and many good players have shorter swings. Forcing extra length often causes loss of posture. If you have any physical limitations, consult a professional before attempting to increase your range of motion.
Stage 4: Transition
The transition is the brief moment when the backswing becomes the downswing. It is where many amateur swings go wrong.
In a well-sequenced swing, the downswing begins from the ground up: the lower body and hips start toward the target while the club is still finishing its backswing. The arms and club then follow. This sequence lets the trail elbow drop toward the side of the body and helps the club approach the ball from slightly inside the target line.
The classic fault is starting the downswing with the shoulders and arms, often called “coming over the top.” The club is thrown outward and approaches the ball from outside the target line, a major cause of slices and pulls.
Stage 5: Downswing and Lag
During the downswing, the hips unwind first, followed by the torso, the arms and finally the club. The wrists stay hinged for much of the downswing, creating what golfers call lag, the delay between the hands and the clubhead, before releasing through impact. This is how good players generate clubhead speed without appearing to swing hard.

Checkpoints:
- Weight is shifting toward the lead side.
- The trail elbow is moving in front of the trail hip.
- The hands are leading the clubhead as they approach the ball, particularly with irons.
Common fault: “casting,” releasing the wrist hinge too early from the top. Casting wastes speed and often leads to fat or thin shots.
Stage 6: Impact
Impact is the only moment that truly matters to the ball, and it does not look like the address position.
- The hips have opened toward the target, while the shoulders are closer to square.
- Most of the weight is on the lead side.
- With irons, the hands are slightly ahead of the ball, the shaft leans toward the target and the club strikes the ball before the ground, taking a divot after the ball.
- With the driver, the ball is teed up and struck slightly on the upswing or level, so shaft lean is less pronounced.
Stage 7: Follow-Through and Finish
After impact the arms extend toward the target, the body continues to rotate, and the club swings up to a balanced finish. A good finish is not something you create deliberately; it is the result of everything before it.
Checkpoints of a good finish: chest facing the target or slightly left of it, nearly all the weight on the lead foot, trail heel up with the trail foot balanced on its toe, and the ability to hold the position comfortably for a few seconds. Falling backward or off balance usually signals a sequencing problem earlier in the swing.
Diagnosing Common Ball Flights
| Miss | What the ball does (right-hander) | Typical cause |
|---|---|---|
| Slice | Curves sharply left to right | Clubface open relative to the swing path, often with an out-to-in path |
| Hook | Curves sharply right to left | Clubface closed relative to the path, often with an in-to-out path |
| Pull | Starts left and stays straight | Out-to-in path with the face square to that path |
| Push | Starts right and stays straight | In-to-out path with the face square to that path |
| Fat | Club hits the ground before the ball | Low point of the swing behind the ball, often from casting or hanging back |
| Thin | Club catches the ball too high, low flight | Low point ahead of a poor strike, or rising up through impact |
| Top | Ball rolls or bounces along the ground | Clubhead strikes the upper part of the ball |
| Shank | Ball shoots sharply right off the hosel | Hosel of the club, rather than the face, makes contact |
A gentle, controlled version of the slice is a fade, and of the hook a draw. Skilled players use both deliberately to fit shots to the shape of a hole.
Practice That Helps
- Use alignment aids. Two clubs on the ground, one along the target line and one along your feet, will reveal alignment errors immediately.
- Rehearse in slow motion. Slow swings through each checkpoint build awareness before speed is added.
- Half swings first. Hip-high to hip-high swings teach solid contact and the hands-ahead impact position.
- Film yourself. A phone video from face-on and down-the-line views will show you much more than feel.
- Work on one thing at a time. Swing changes take time; trying to fix everything at once rarely works.
- Get lessons. A qualified coach can identify the root cause of a fault, which is often different from where the symptom appears.
Equipment matters too: clubs that are too stiff, too long or too heavy can make good technique harder to achieve. Our guides to building a first set and choosing a driver explain what to look for. But no equipment change replaces a sound, well-sequenced swing built stage by stage.